
In this article, I’ll walk through flashing a Project Treble-compatible ROM onto the Rakuten Mini — the infamous “1-yen giveaway phone” that’s been making the rounds lately.
Our entire household has signed up for Rakuten Unlimited, with each person using it in various ways — some put the SIM in a W03, others use it as an eSIM on their iPhone. As for this particular Rakuten Mini, I picked it up on Mercari for 8,000 yen.
Anyway, let’s get to the main topic.
Custom ROM Already? For Those Who Are Surprised
A lot of people seem to be thinking “A custom ROM already? Did someone find a base device or something?” Since Project Treble doesn’t get much attention, let me give a very brief explanation.
If you already know what this is, feel free to skip to the next section.
Starting with Android 9 Pie, “Project Treble” became mandatory. This initiative clearly separates the Android OS layer from the manufacturer/carrier-modified layer, allowing the Android OS portion to be updated independently.
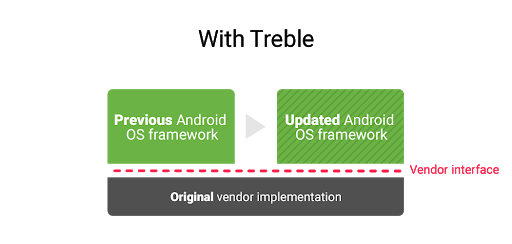
Google saw it as a problem that vendor modifications reaching into the Android OS layer were causing delays in OS updates. By separating the two, they aimed to enable faster Android updates.
The Android OS portion alone is published as a “Generic System Image” (GSI). There are both official Google versions and unofficial community versions available.
Since a GSI works on any device that supports Project Treble, that’s exactly what we’ll be installing in this guide.
Downloading a Project Treble ROM
Generic System Image (GSI) list – GitHub
Pick whichever GSI you like from the link above. Any Android 9 Pie GSI should work.
Generic System Image – Android Developer
From the page above, download “vbmeta.img” — this is needed to disable “Android Verified Boot,” which was introduced in Android 8.
For more details on AVB, please refer to the following link:
Android Verified Boot – Android Developer
Unlocking the Bootloader
For this step, AndroPlus has an excellent guide that covers the process in detail, so please refer to their article:
How to Bootloader Unlock the Rakuten Mini — Root with Magisk too [dump available]
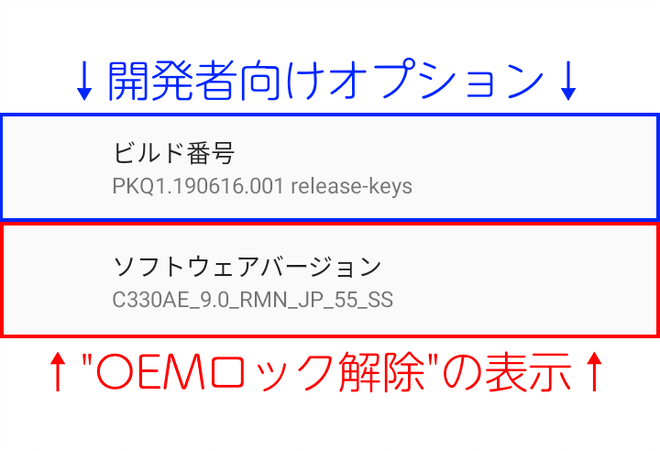
One note: the guide mentions “lock the screen and bring up the dialer from the emergency call button on the lock screen,” but this step is actually unnecessary. You can bring up the dialer by tapping “Software Version” in “Device Info” repeatedly.
So the Build Number unlocks Developer Options, while the Software Version brings up the standard dialer — a useful shortcut to know.
Flashing the ROM
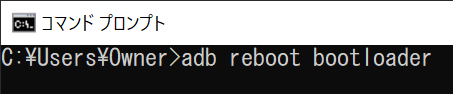
Enter fastboot via adb with adb reboot bootloader.
Erase the system partition with fastboot erase system.

Flash the ROM with fastboot flash system [your_image].img.
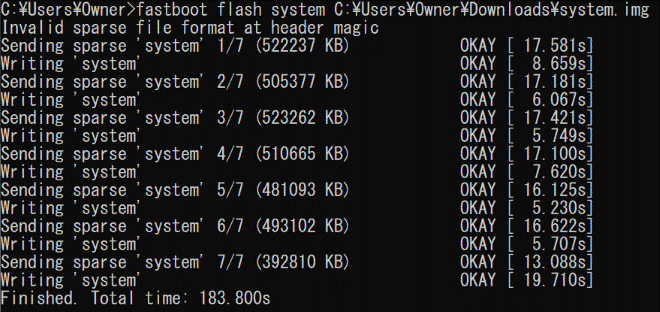
Next, to disable boot-time verification introduced in Android 8, flash the vbmeta.img:
fastboot --disable-verity --disable-verification flash vbmeta vbmeta.img
Note: If your fastboot.exe version is too old, the “disable-verity” option may not be available. In that case, please update your SDK Platform-Tools.
Once flashing is complete, run fastboot reboot with the power button facing up.

The device will reboot and display a “No command” screen.
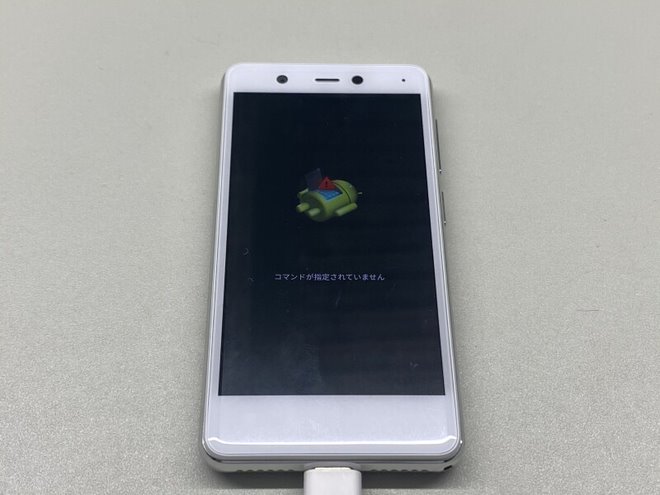
Hold Power + Volume Up simultaneously for a few seconds to enter Android Recovery. (It may take a few attempts.)
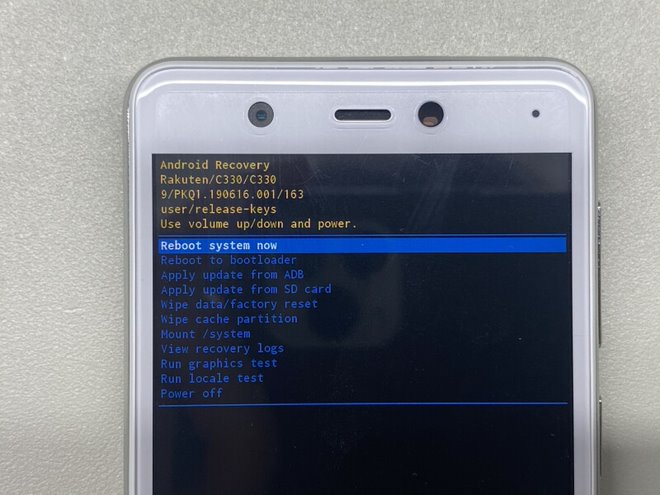
Select “Wipe data / factory reset.”
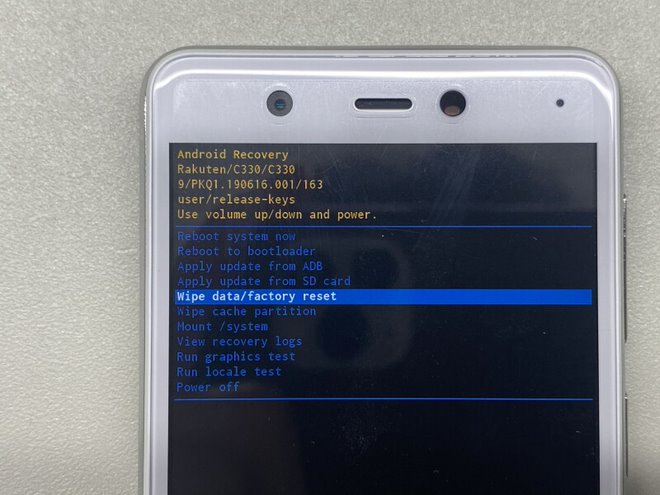
Select “Yes” to wipe the user data partition.
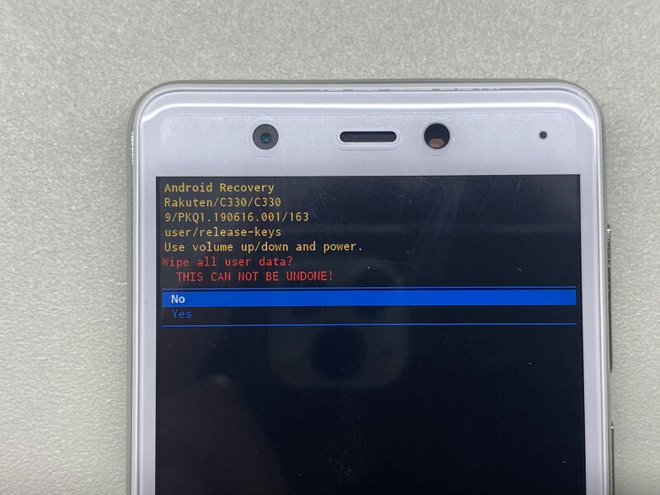
When done, select “Reboot system now” to restart. The device should boot into the flashed ROM.
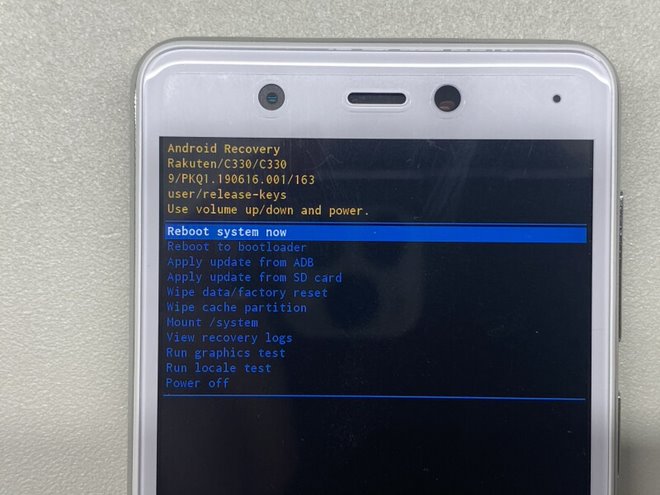
*If the Android version is the same, the “Wipe data / factory reset” step may not be strictly necessary, but since I always did it back in my TWRP days, I included it here as well.
Impressions
Nice. pic.twitter.com/pVrisb6hT8
— Shichinomiya (@shichinomiya_s) June 3, 2020
I flashed AOSP, and stock Android really is great. I can tolerate manufacturer modifications, but carrier bloatware is something I really dislike, so this clean experience is wonderful.
There were no noticeable bugs, and the overall feel is excellent. I plan to keep using it like this.
I couldn’t test whether eSIM loads properly since I had already transferred my eSIM to an iPhone, so if anyone can test that, I’d appreciate it.
The best strategy is probably to keep your carrier contract and run Rakuten Unlimited as an eSIM on your iPhone or Pixel.
When you’re outside Rakuten’s coverage area, the phone automatically switches to one of the three major carriers’ networks, and I haven’t experienced any real inconvenience.
Looking at Rakuten’s strategy with the Rakuten Mini giveaway, they seem to be going for an approach like “Why not carry a tiny sub-phone for almost free?” — reminiscent of the old eMobile days.
With this strategy, it’s hard to imagine users who are happy with their current setup would want the hassle of carrying a second phone. Rakuten would be better off officially supporting eSIM on iPhones and pitching it as “Why not add a free unlimited data line to your iPhone (or Pixel) for a year?”
I went off on a bit of a tangent there, but that wraps up this guide on flashing a Project Treble-compatible ROM onto the Rakuten Mini.

![[Installation Guide] Running Windows 10 on ARM on a Lumia 950 XL](https://miyagadget.page/wp-content/uploads/2023/08/SC5OSG1l.jpg)
Leave a Reply