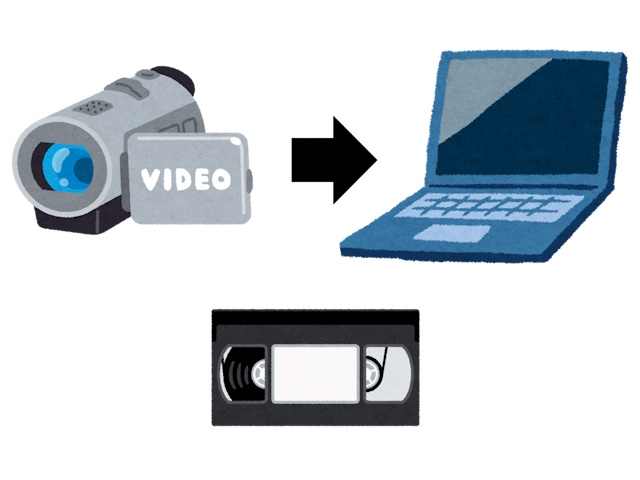
This article covers how to digitize MiniDV videotapes?the format used by old camcorders?and transfer them to a PC.
I recently unearthed a large collection of MiniDV tapes from my childhood at my parents’ house, so I decided to capture them to my PC for archival.
Since I went through quite a bit of trial and error during the process, I wanted to document the procedure in this article.
Let’s get right into it. The first thing to check is whether your PC has an IEEE 1394 port, as this significantly affects the approach.
Check for IEEE 1394 Port
First, check if your PC has an IEEE 1394 port. It’s also known as FireWire or i.LINK.
Most PCs manufactured after 2006?when camcorder recording shifted from MiniDV to HDD/SD?don’t include this port.
The connectors look like this. Check for either a 6-pin or 4-pin port.
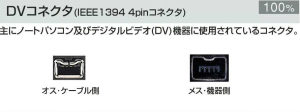
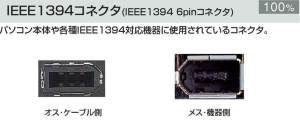
Don’t worry if your PC doesn’t have this port?the next section covers your options.
If Your PC Has No IEEE 1394 Port
For Desktop PCs
Purchase an IEEE 1394 PCIe expansion card. They cost around 2,000 yen (~$15).
Since I also didn’t have a PC with IEEE 1394, I bought one of these.
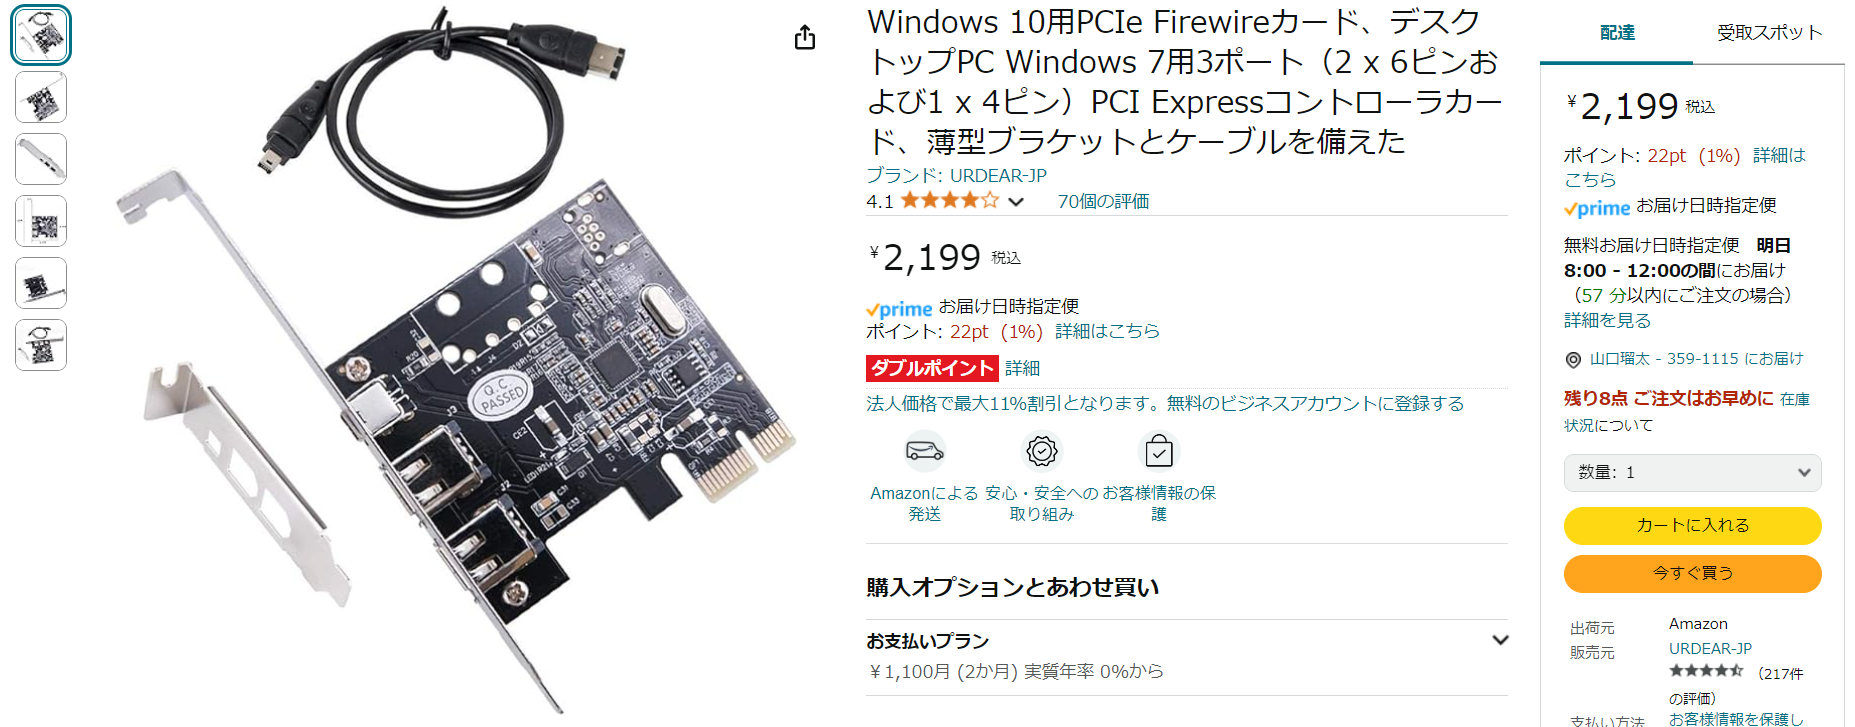
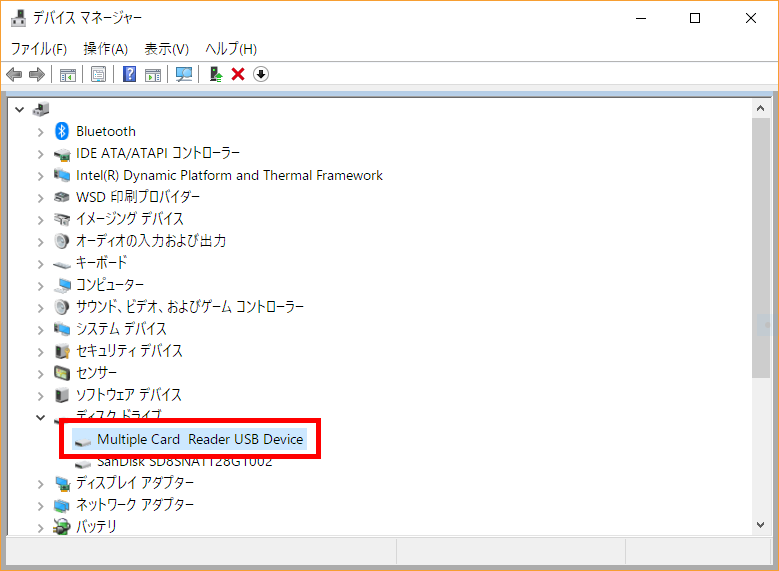
After purchasing, insert it into an available PCIe slot and check Device Manager for recognition.
If you see “1394 OHCI Compliant Host Controller,” you’re good to go.

For Laptops
Unfortunately, expansion isn’t possible, so you’ll need a different approach.
The downside is that it converts digital to analog, resulting in significant quality loss and no automated processing.
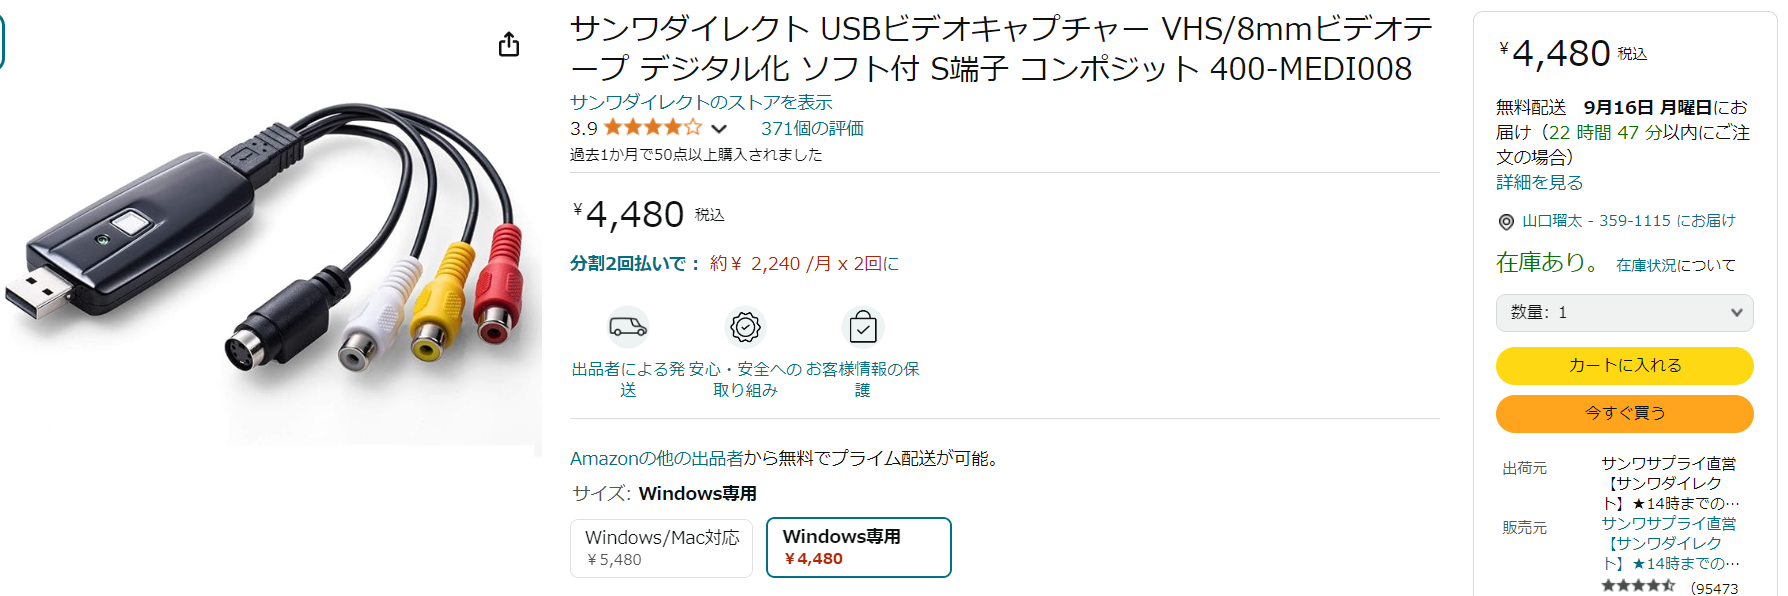
*Do NOT buy USB-to-IEEE 1394 adapter cables. They do not work for this purpose.
Other Items You’ll Need
- A MiniDV camcorder (SONY or Canon recommended)
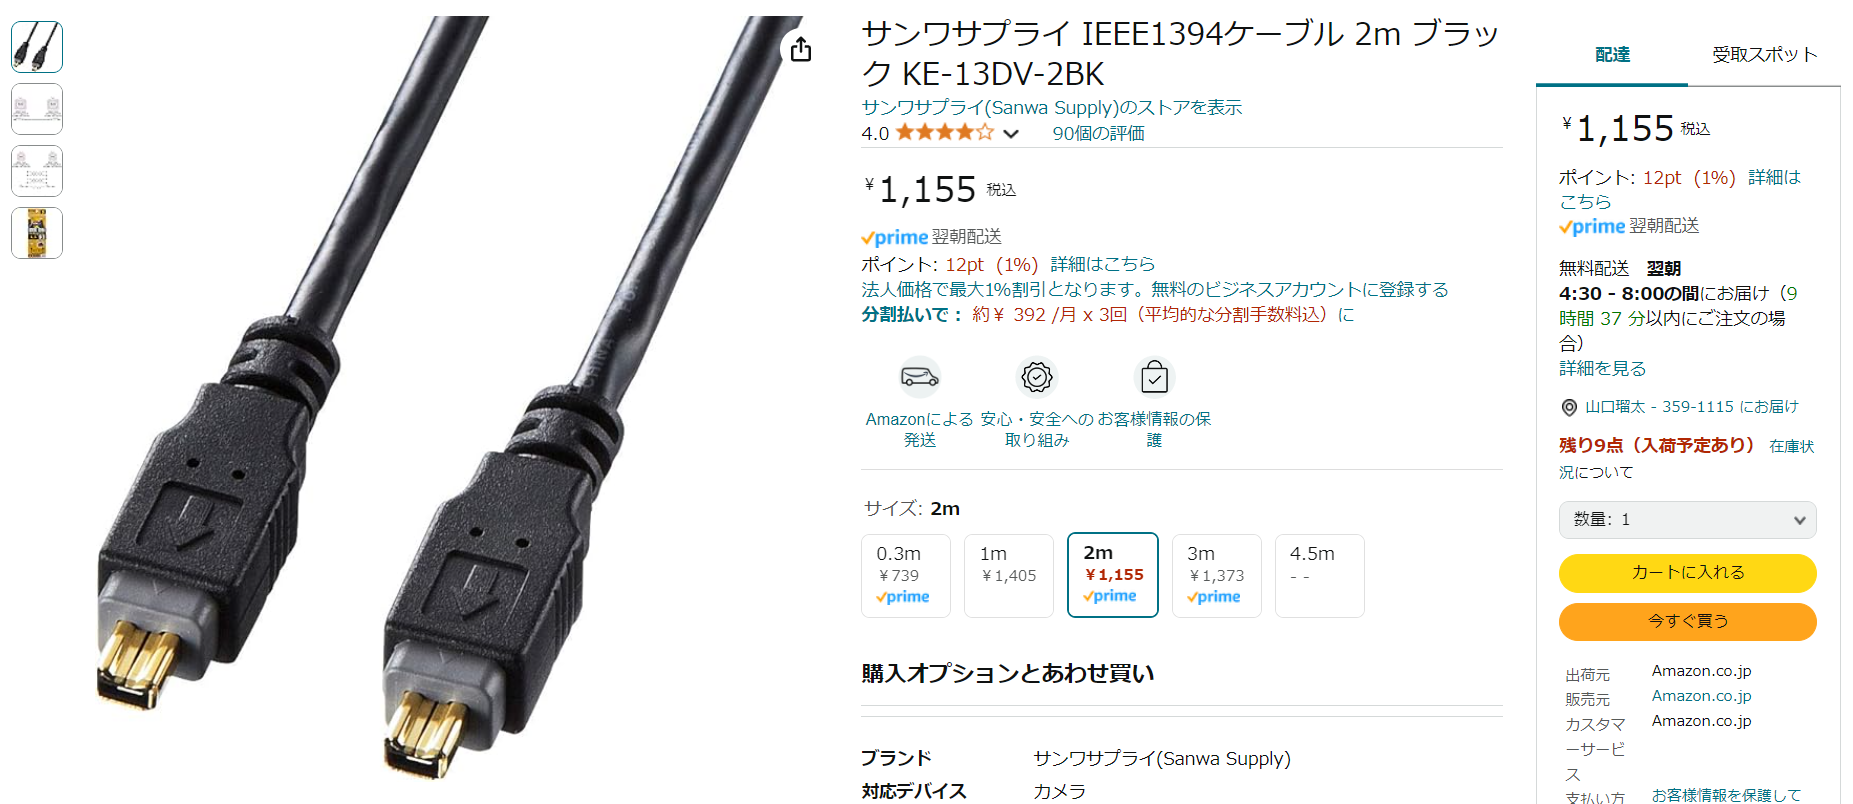
- IEEE 1394 cable
- The IEEE 1394 card comes with a cable, but it’s short. I recommend buying a longer one.

Amazon Associates link
- The IEEE 1394 card comes with a cable, but it’s short. I recommend buying a longer one.
Installing the Capture Software
Even with the camcorder connected, you need dedicated software to capture the footage.
Area61 DV Video Capture and WinDV are popular options, but they can be unstable or not very user-friendly.
Instead, I’ll use “Photo Gallery” from Windows Essentials 2012.
Download
Windows Essentials 2012 was discontinued in January 2017, so you’ll need to download it from an archive.
It’s available on the Wayback Machine:
*Microsoft has officially ended distribution. Use at your own risk.
Install
Once downloaded, double-click “wlsetup-all.exe” to install.
*Confirmed working on Windows 11 Pro 23H2.
Capturing the Video
1. Insert the MiniDV tape into the camcorder and connect it to the PC via the IEEE 1394 cable.
2. Set the camcorder to playback mode.
3. Open Device Manager and verify the camcorder appears under “Imaging Devices.”
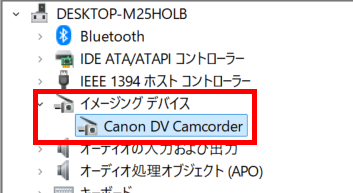
*If it doesn’t appear, see the troubleshooting section below.
4. Open “Photo Gallery” and click “Import” in the upper left.
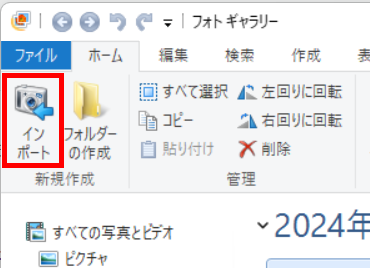
5. Select your connected camcorder and click “Import.”
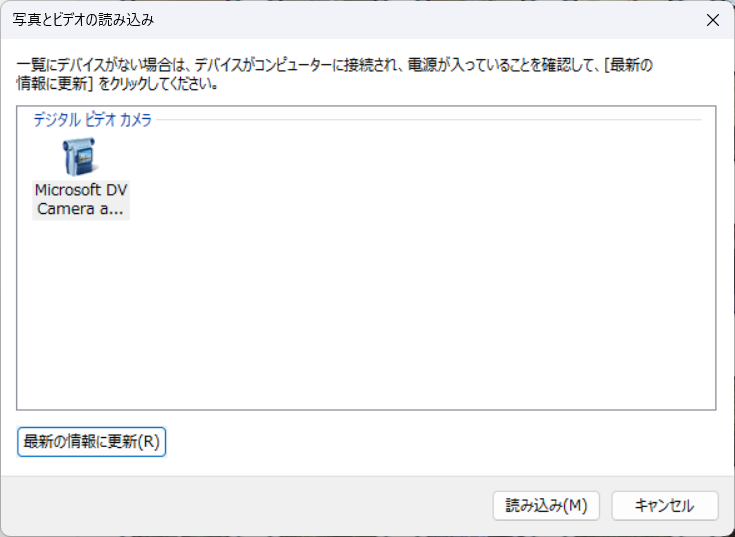
6. Enter a name for the video and click “Next.”

*If you name it “Video 1,” the output file will be “yyyy-mm-dd hh.mm.ss Video 1.avi.”
7. The capture begins. The tape will first rewind to the beginning, then recording starts.
*If you get an error at this stage, see the troubleshooting section below.
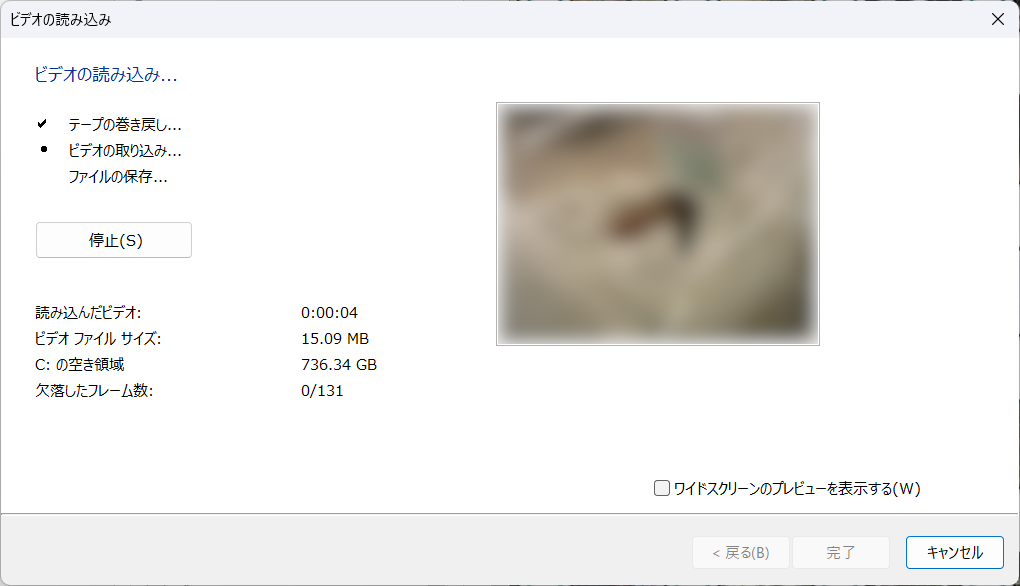
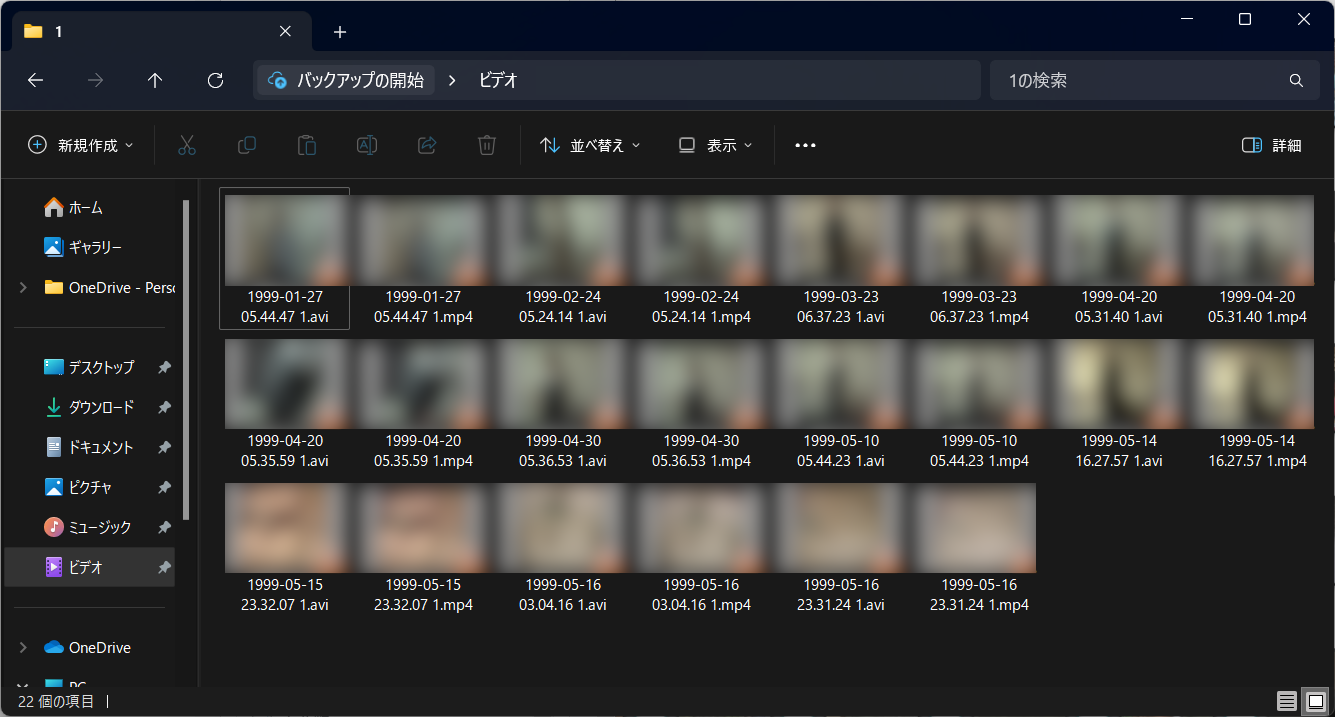
8. Once complete, files are saved to the “Videos” folder.
One great thing about Photo Gallery is that it automatically splits the output into scene-based segments.
Conclusion
As you can see, the digitization process is simpler than you might expect.
Nearly 20 years have passed since MiniDV camcorders were mainstream. With magnetic heads failing and tapes degrading over time, plus fewer working units in circulation, it’s best to digitize your tapes as soon as possible.
I hope this guide helps anyone looking to preserve their MiniDV tapes. Thank you for reading.
![[Installation Guide] Running Windows 10 on ARM on a Lumia 950 XL](https://miyagadget.page/wp-content/uploads/2023/08/SC5OSG1l.jpg)


Leave a Reply