
I recently started using the AI assistant “Claude Code” for programming and blog writing, and it turned out to be way more useful than I expected.
In this article, I’ll walk you through the setup process on Windows and guide you through generating your first simple program — all aimed at complete beginners.
What Is Claude Code?
Claude Code is a tool that lets you use Anthropic’s AI “Claude” from the terminal (command line).
Unlike regular chatbots, it can actually read and write files, edit code, manage version control with Git, and more — all through a conversational interface.
If you’re new to programming, the word “terminal” might sound intimidating, but think of it as a black screen where you give instructions to your computer.
What Claude Code Can Do
Here are some features I found particularly useful after trying it out:
- Automatic code generation: Just say “write a function that does X” and it writes working code for you.
- Bug fixing: Show it an error message, and it’ll explain the cause and suggest a fix.
- Code explanation: It can read existing code and explain what it does in plain language.
- Git operations: Just say “commit the changes” and it even comes up with an appropriate commit message.
- Refactoring: It can suggest ways to make your code more readable and efficient.
Personally, I’ve been using it for writing blog posts as well, and it’s significantly boosted my productivity.
Setting Up Your Windows Environment
There are a few things you need to prepare before using Claude Code.
System Requirements
First, make sure your computer meets these requirements:
- OS: Windows 10 or later
- Memory: 4GB RAM minimum (8GB or more recommended)
- Internet: Always-on connection required
Most modern PCs should have no issues.
Installing Git for Windows
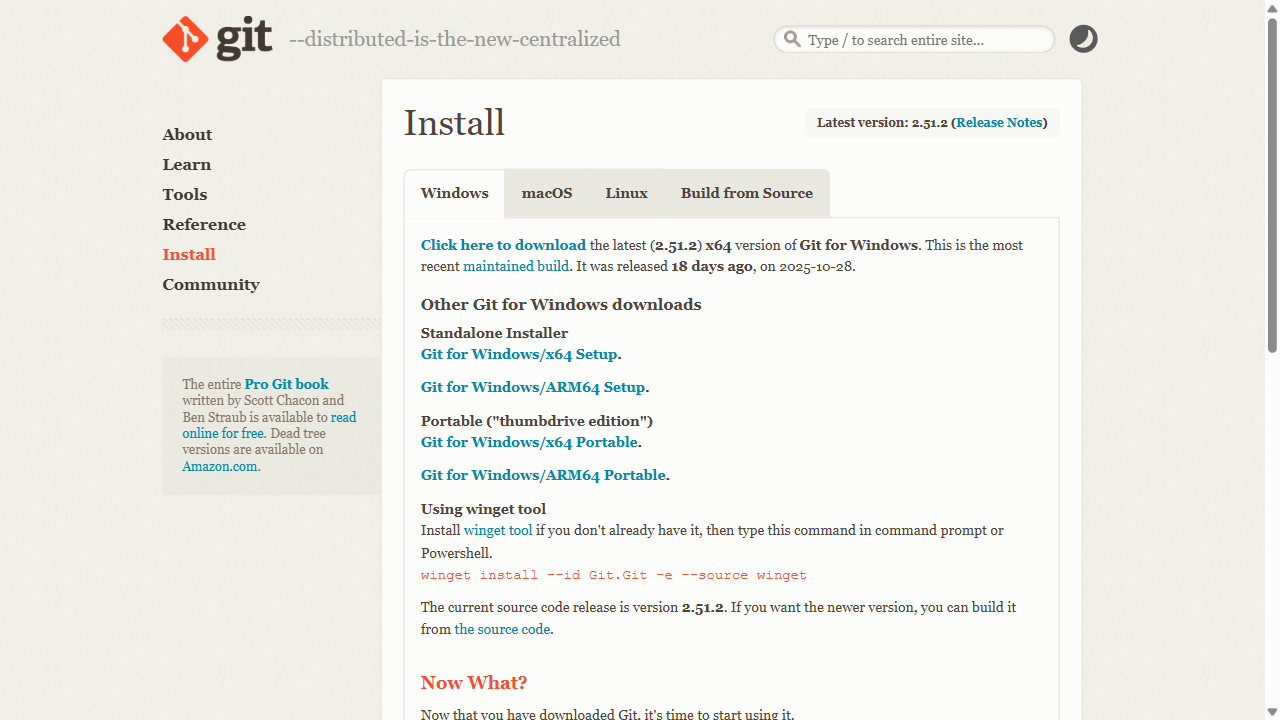
To use Claude Code on Windows, you’ll need “Git for Windows.”
Download the installer from the Git for Windows official site and install it with the default settings — just keep clicking “Next.”
During installation, selecting “Use Git from the Windows Command Prompt” will come in handy later.
Installing Claude Code
Now let’s actually install Claude Code.
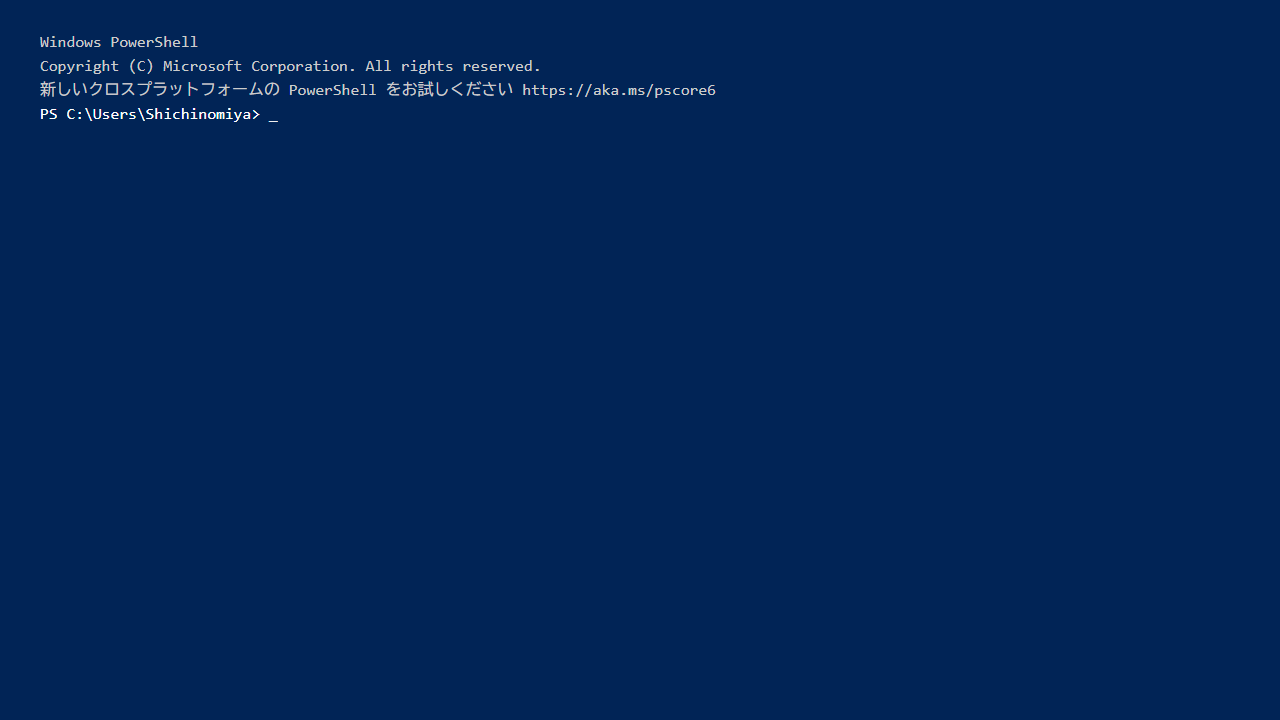
Open PowerShell
Press the Windows key, type “PowerShell,” right-click on “Windows PowerShell” and select “Run as administrator.”
If a blue window (the PowerShell console) opens, you’re good to go.
Run the Install Command
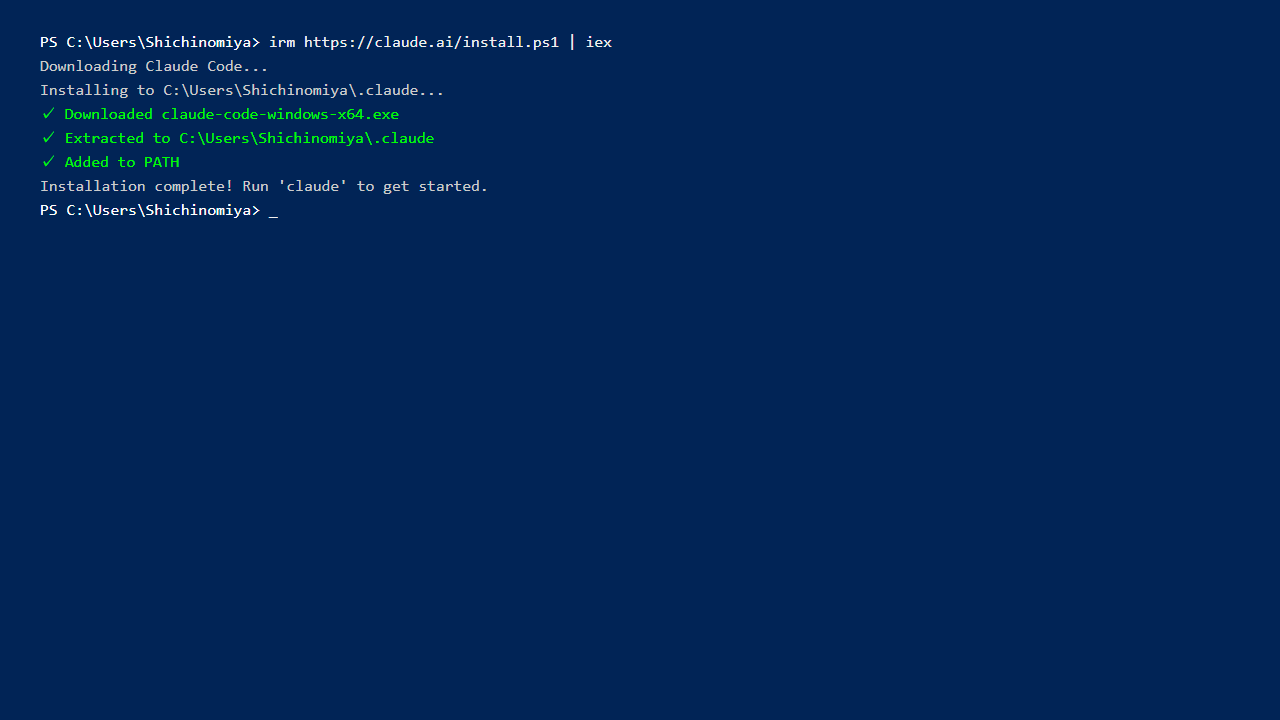
Copy and paste the following command into PowerShell and press Enter:
irm https://claude.ai/install.ps1 | iexIf you get an “execution policy” error, run the following command first, then try the install command again:
Set-ExecutionPolicy RemoteSigned -Scope CurrentUserThe installation may take a few minutes. Be patient!
Verify the Installation
After the installation completes, verify it with this command:
claude doctorIf you see information like “Installation type” and “Version,” the installation was successful.
First Login and Setup
Once the installation is done, it’s time to log in to Claude Code.
Prepare Your Claude Account
You’ll need a Claude account to use Claude Code.
If you don’t have one yet, create a free account at the Claude official site. It only takes a few minutes with an email address.
Run the Login Command
Run the following command in PowerShell:
claudeOn the first launch, a login screen will open automatically. Your browser will launch with an authentication page — log in with your Claude account.

Once authenticated, you’ll see a “Successfully logged in!” message in PowerShell.
Your First Step: Building Hello World
Now that you’re logged in, let’s actually use Claude Code.
We’ll start with the classic “Hello World” — a simple program that prints a message.
Create a Working Folder
First, create a folder to work in. Let’s make a “test_project” folder on your desktop.
Run these commands in PowerShell:
cd $HOME\Desktop
mkdir test_project
cd test_project
This creates a “test_project” folder on your desktop and navigates into it.
Launch Claude Code
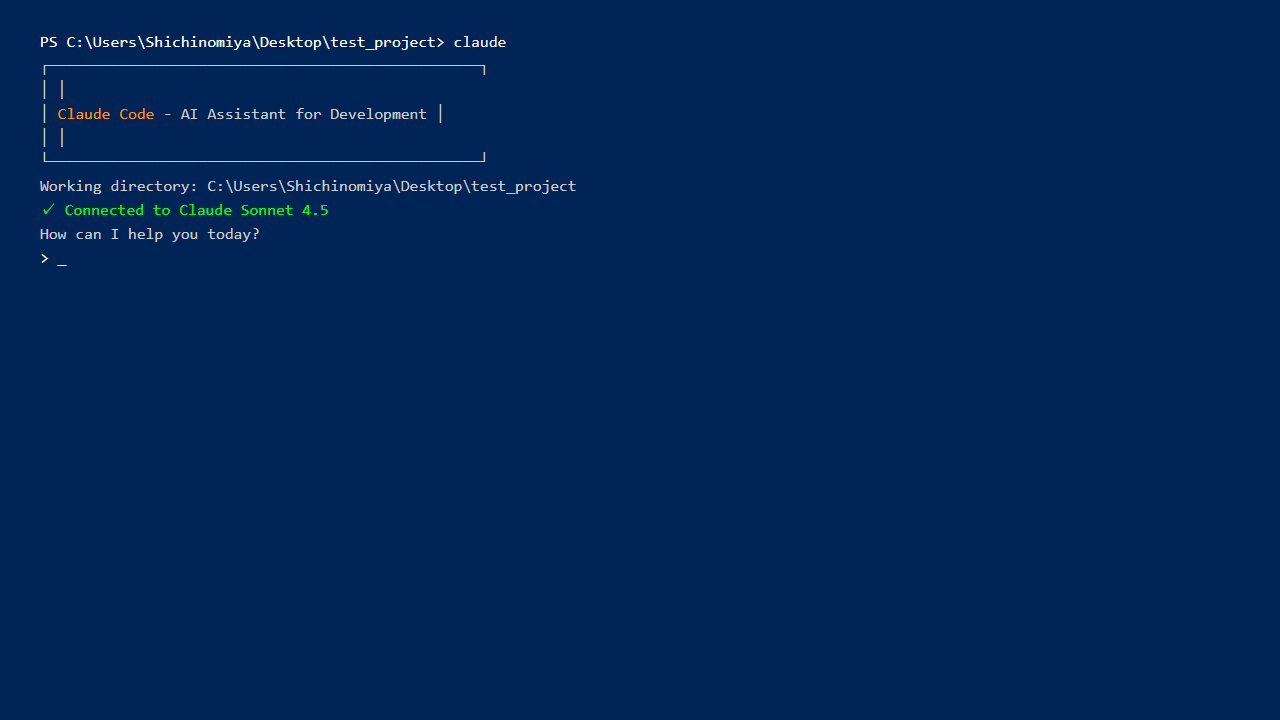
Start Claude Code from inside the folder:
claudeAfter a moment, the Claude Code interactive screen will appear.
Give the Hello World Instruction
Try saying something like this to Claude Code:
Create a Python program that prints "Hello World"Claude Code will create a file called “hello.py” containing code like this:
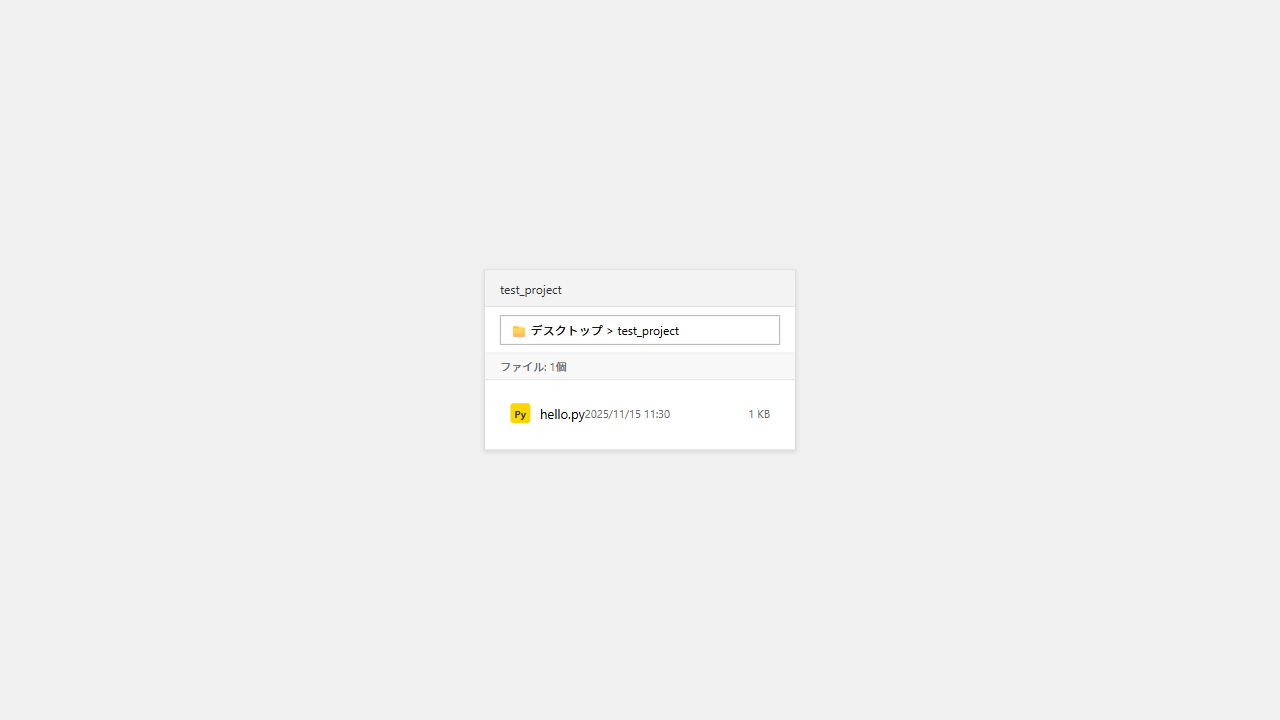
print("Hello World")The file is actually saved in your folder. Open the “test_project” folder in Explorer and you’ll see “hello.py” there.
Run the Program
Let’s run the generated program. Either tell Claude Code “run this program” or execute the following in PowerShell:
python hello.pyIf “Hello World” appears, you’ve done it!
Honestly, even with something this simple, there’s a real “wow, the AI actually wrote code for me!” moment.
A More Practical Example: Building a Simple Calculator
Now that you’ve got the basics down, let’s try building something a bit more practical.
Give the Instruction
Say something like this to Claude Code:
Create a simple calculator program that can add, subtract, multiply, and divide two numbers. Let the user input the numbers and the operator.
The Generated Code
Claude Code will create a “calculator.py” file with code like this:
def calculator():
    print("Simple Calculator")
    num1 = float(input("Enter the first number: "))
    operator = input("Enter an operator (+, -, *, /): ")
    num2 = float(input("Enter the second number: "))

    if operator == '+':
        result = num1 + num2
    elif operator == '-':
        result = num1 - num2
    elif operator == '*':
        result = num1 * num2
    elif operator == '/':
        if num2 != 0:
            result = num1 / num2
        else:
            print("Error: Cannot divide by zero")
            return
    else:
        print("Invalid operator")
        return

    print(f"Result: {result}")

if __name__ == "__main__":
    calculator()
This code includes user input handling and error handling (like the division-by-zero check).
Writing this kind of code from scratch would take beginners quite a while, but Claude Code generates it in seconds.
Test It Out
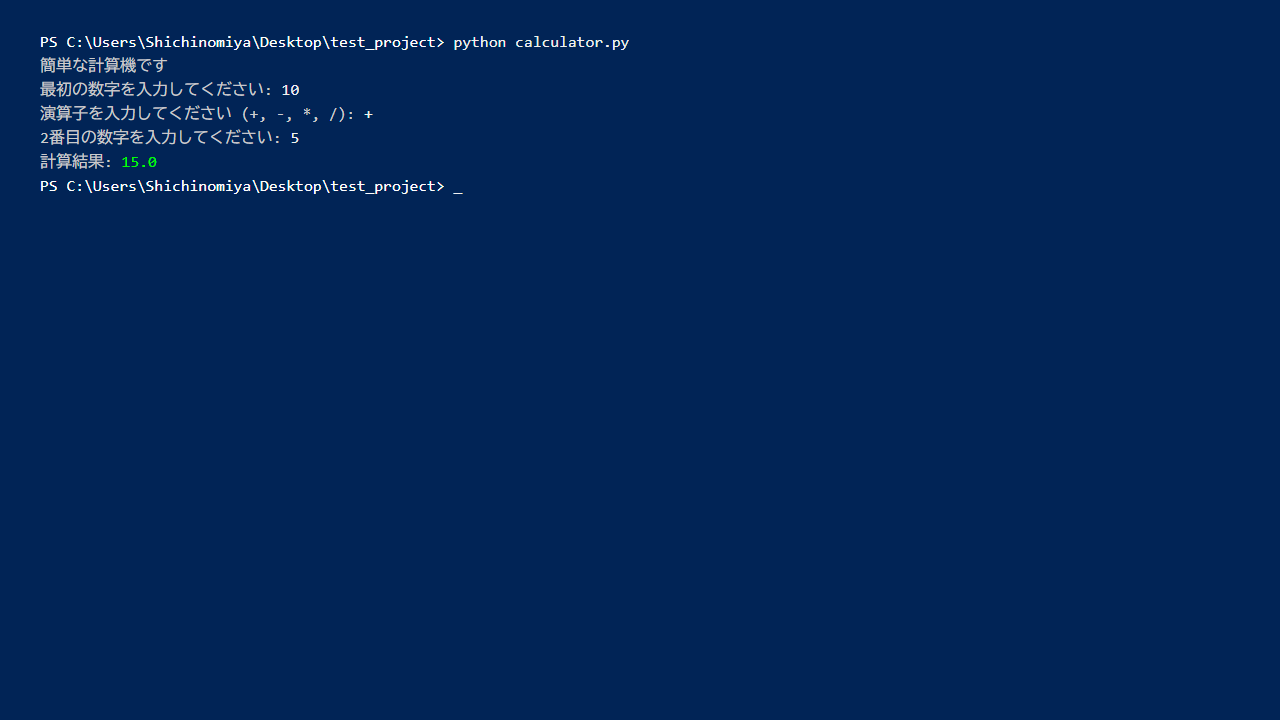
python calculator.pyEnter numbers and an operator, and you’ll see the result. Building a program really can be this easy!
Useful Claude Code Features
Now that you know the basics, here are some handy features worth knowing.
Ask for Code Explanations
When you want to understand existing code, try asking:
Explain the contents of calculator.py in detailClaude Code will explain what each part of the code does.
Request Code Improvements
Make this code more readableIt will suggest improvements like clearer variable names and added comments.
Troubleshoot Errors
If you get an error when running a program, just paste the error message directly into Claude Code:
I got this error. Please fix it.
[paste the error message here]
It will identify the cause and suggest a fix.
Work with Multiple Files
Claude Code can handle multiple files at once:
Add a README.md file to this project explaining how to use itIt will automatically generate documentation files for you.
Things to Watch Out For
After using it for a few weeks, I noticed some important points to keep in mind:
- Always verify the output: Always run and test the code Claude Code generates. It occasionally produces unexpected results.
- Be mindful of security: Be careful about what information gets sent to Claude (AI) when working on projects containing personal or sensitive data.
- Be specific with instructions: Vague instructions can lead to unexpected results. The more specific you are — like “write code with X functionality that does Y” — the better.
- Keep learning: Claude Code is a great tool, but learning programming fundamentals is still important. Try to understand the “why” behind the generated code.
That said, used with these things in mind, it will definitely boost your productivity.
Pricing
You need a Claude account to use Claude Code.
The free plan (Claude Free) gives you access to basic features, but with usage limits. For extended sessions or generating large amounts of code, the paid plan (Claude Pro: around $20/month) is worth considering.
Personally, I’d recommend starting with the free plan and upgrading to Pro once you’re convinced it’s worth it.
Conclusion
In this article, I walked through installing Claude Code on Windows and building simple programs.
Words like “terminal” and “command” might seem daunting at first, but it’s surprisingly straightforward once you try it.
I especially recommend it for anyone who’s learning to code or writing a blog.
Key benefits of Claude Code:
- Write code through conversation
- Easy error fixing and code explanations
- Beginner-friendly interface
- Massive productivity boost
Just remember to always review the generated code yourself and keep building your own understanding.
If you’re interested in getting started with AI-assisted programming, give it a try!




Leave a Reply